Have you ever fallen in love with those fantastic photos in which a fly’s legs are covered with fluffy fluff that looks like thorns? Photos that clearly show the pollen stuck to a bee’s face and antennae? Photos of water droplets forming on leaves? Well, there is a photo category for those shoots known among photographers as “macro photography”, which we will cover today.
Not a single definition for “macro photography”
During the film cameras era, a macro photo was defined as a photo in which the dimensions of the subject on the film negative are bigger than the dimensions of the subject itself. The modern definition of macro photography is a photo in which the dimensions of the photography subject on the final copy are bigger than the dimensions of the subject itself.
Also, there is a slightly narrow definition to consider a photo as a macro; the subject must be the same size as the camera sensor or smaller. For example, if you are shooting with a full-frame camera with a 36mm x 24mm sensor (known as a 35mm camera), your subject dimensions must be 36mm x 24mm or less in order to be called a macro photo.
Many professional photographers find these strict definitions of macro photography unnecessary, and call many photos “macro” even though none of the above definitions apply to them. Which makes us more comfortable with the comprehensive definition of the macro, which is the shooting of a relatively small subject, in order to show its hidden details that can’t be detected by the human eye, and to give it a unique aesthetic perspective.
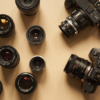
Macro lenses
To shoot good macro photos, you’ll likely need macro lenses. Macro lenses do 3 things:
- It has a magnification ratio of 1:1 or 1:2 at least.
- It has a minimum focusing distance of around 30 centimeters or less.
- It is optically optimized to handle extremely close focusing distances without compromising photo quality (this is why macro lenses are so expensive).
Some photographers turn their regular lenses around; this trick makes focusing distance close and may actually help in getting good macro photos, but it does not give the best results.
What is magnification in macro photography?
Magnification is one of the most important terms in macro photography; it is defined as the ratio between the dimensions of the subject on the camera sensor and its real dimensions. For example, if you shoot a subject with a length of 1 centimeter and it appears as a length of 1 centimeter on the camera sensor, the magnification in this case will be 1:1, or “life size”.
1:2 magnification is when the dimensions of the subject on the camera sensor are half of its real dimensions. When the ratio reaches 1:10 or more, you can’t call it a macro photo.
In practice, macro lenses should allow you to get at least 1:2 magnification. But if you want more flexibility, try to get a lens with 1:1 or higher magnification (some high-end macro lenses allow up to a 5:1 magnification ratio).
What is working distance in macro photography?
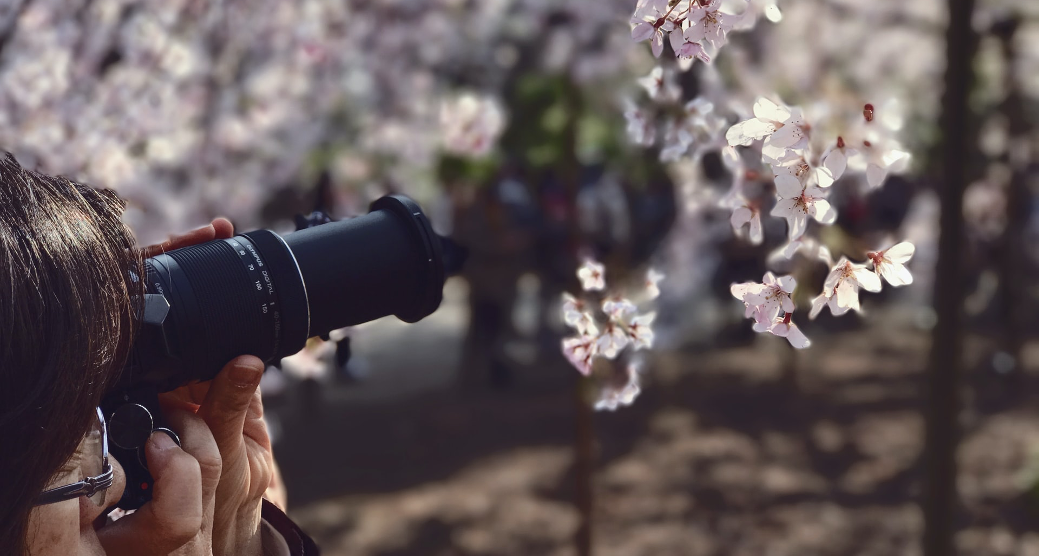
Working distance is the distance that the camera needs between the front of the lens and the subject, and while still getting sharp photos, macro photography often requires getting very close to the subject. Therefore, the working distance of macro lenses is usually too small.
This may lead to some issues when shooting insects, for example, because getting too close might end up scaring them. Also, getting too close to the target —even if it is an inanimate object— may block the light when the camera is facing the light source.
When choosing a macro lens, it is important to know its working distance. Lenses with a longer focal length tend to have more working distance; for example, 200mm and 180mm lenses have more working distance than 60mm lenses.
Macro photography tips
Here are a few tips to get you started with macro photography:
- Start with what’s available in your place: At the beginning, you don’t need to chase insects and butterflies to get macro shots; for sure, you will find many good subjects available at you house, from small fruits like berries, strawberries, grapes, and dates, to whatever small items you have in your drawers. The secret to getting a good macro photo is to choose a subject that has a cool texture, for example berries and strawberries are better because their surfaces are not as smooth as grapes.
- Clean your subject for wonderful details: dust, hair and dander will be crystal clear when magnified dozens of times, so it is important to clean your subject well to get beautiful macro photos.
- Use lighting to your advantage: Light and shadow have a huge impact on macro photos, so it’s important to wisely use them to get great macro shots. Fortunately, you won’t need expensive powerful lighting gear; just using a small torch will make a magnificent difference in your photos.
- No movement allowed: no matter how small, the effect of shake on macro photos is critical. To avoid the effect of movement, it will not be enough to attach a camera to a tripod; instead, you will need a remote control to take photos because just touching the camera shooting button will cause it to shake, and the effect of this will appear clearly in the final photo. Especially since macro photography requires using a relatively slow shutter speed—one or two seconds, to get your sensor enough light.
Here at Photolet, we offer a variety of highly specialized training courses for both beginners and professional photography enthusiasts. Our training courses focus on the practical aspect of photography to boost your photography skills.